


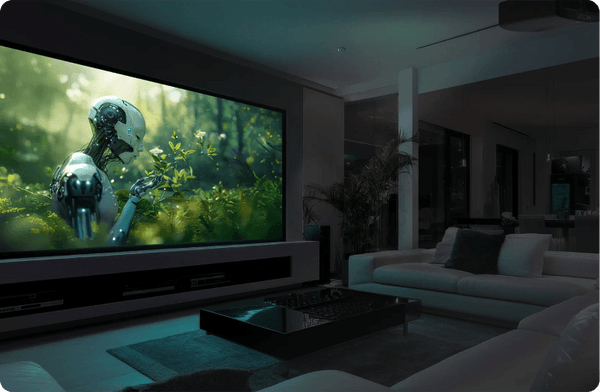
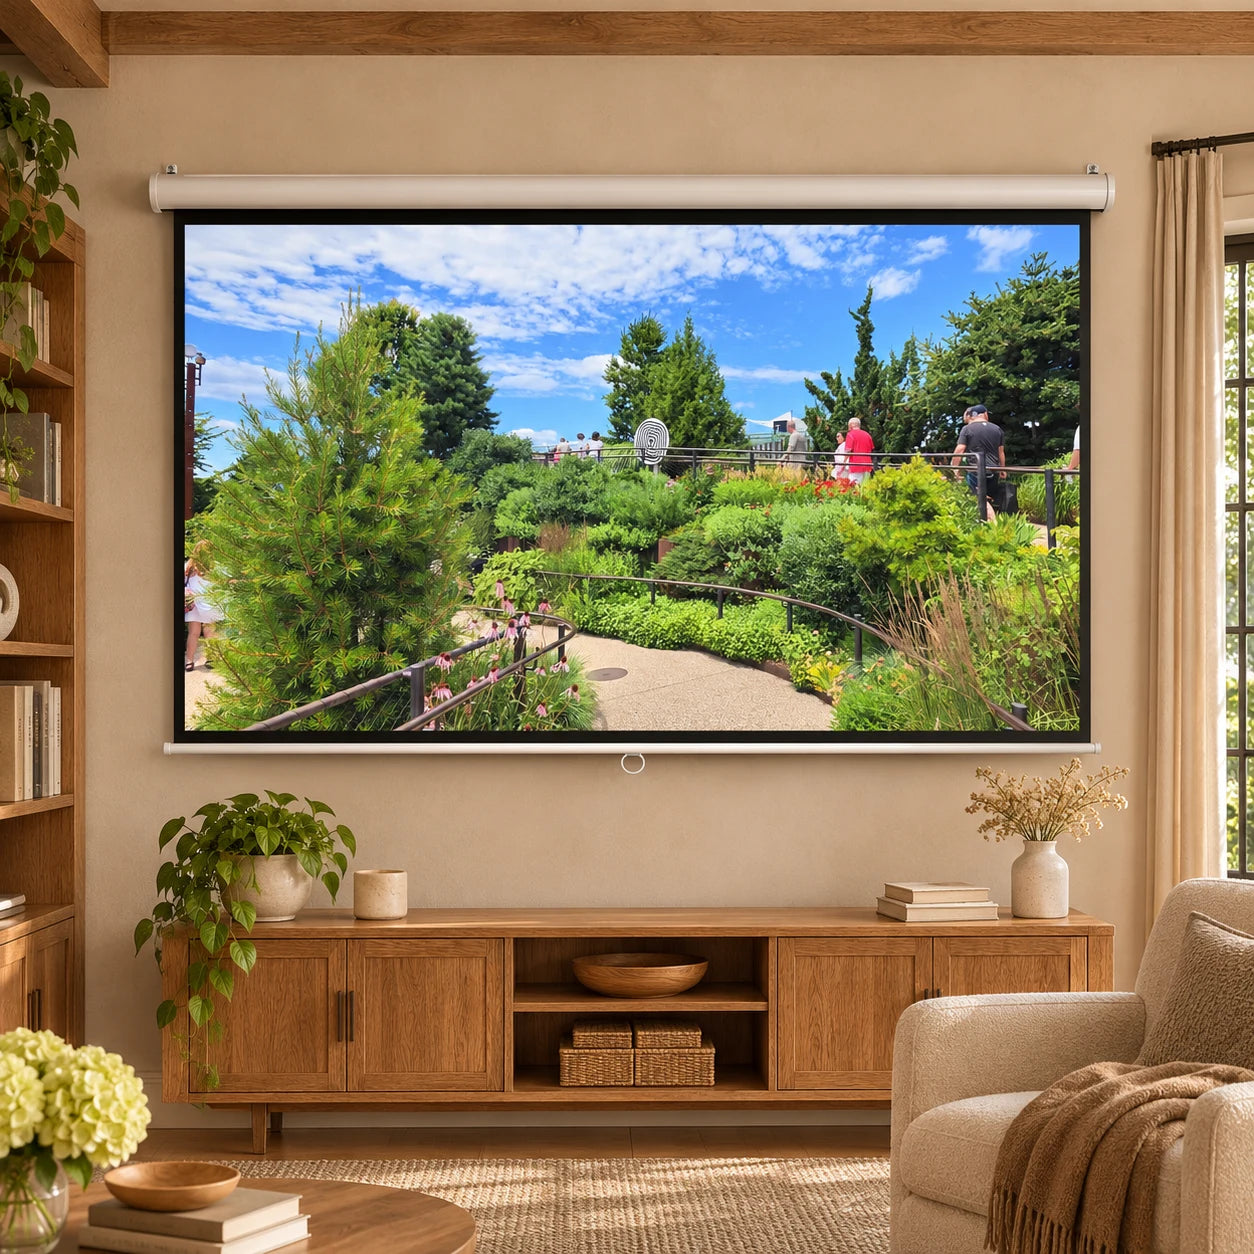
Visible housing
Wall / ceiling mounted
The screen rolls into a case mounted on the surface. Check case width, mounting points and how far the image drops.
Eligible products
Bundle and Save
When you add an item from 2 of the eligible categories
When you add an item from 3 of the eligible categories
When you add an item from 4 of the eligible categories

ELECTRIC & MOTORIZED PROJECTOR SCREENS
A screen when you want it. Your room back when you don’t. Find the right motorized screen for your projector and your space.
Your electric screen checklist
Open each checklist item to compare your options and plan the installation before you choose a screen.
Need help deciding? Talk to an expert →Choose an exposed wall/ceiling case for a straightforward installation, a recessed case to hide it overhead, or a floor-rising model when overhead mounting is impractical. Measure the full housing and mounting points, not only the image. Black drop is the non-viewing material above the picture; it helps position the image below the case. Check the allowed drop, bottom-bar height, furniture clearance and service access in the model’s drawings.
Start with your projector’s throw type and your room’s light. A compatible matte-white surface suits a room where you can control the light. Ambient light rejecting (ALR) materials are directional: choose one approved for the projector’s throw ratio and placement. Standard-throw ALR and UST-specific ALR are not interchangeable. For a UST projector, verify that the material accepts light from below and that its installed orientation matches the manufacturer’s instructions.
Tab tensioning uses cords along the screen’s edges to pull the material sideways, while the bottom bar provides vertical tension. Together they help keep the deployed surface flat and reduce edge curl. Non-tensioned screens rely mainly on the bottom bar and can develop waves. For a retractable screen used with short-throw or ultra-short-throw projection, treat tab tensioning as a requirement: the steep projection angle makes small ripples show up as distorted lines. Tensioning alone does not establish compatibility; choose a model and material explicitly approved for your projector type.
Check whether the screen plugs into an outlet or requires hardwiring, and plan power at the case location. A wall switch provides local control; an infrared (IR) remote needs a clear signal path, while radio-frequency (RF) control can suit a concealed case when supported. A compatible 12V trigger can lower and raise the screen with the projector. Smart-home integration may need a separate interface. Confirm which controls, receivers and cables are included before arranging the installation.
Next, choose where it lives
Operation and mounting are separate choices. Start with the room, then check the individual model.
Visible housing
The screen rolls into a case mounted on the surface. Check case width, mounting points and how far the image drops.

Built into the room
A compatible case sits within the ceiling. Plan cavity dimensions, structural support and future service access.

From the ground up
The image rises from a base below. Allow clearance for the moving screen, and verify its height and projector placement.
Choose how you want to operate the screen, such as with a wall control, remote or compatible automation connection. Then confirm the exact motor, receiver and accessories required. Check what is included and how the screen can be operated independently if needed. For material, tensioning and mounting selection, use our main motorized-screen guide.
Further reading: Related collection and details
The motor raises and lowers the surface, which can be useful when the housing is high or the screen is part of an automated room. A manual model avoids motor power and control wiring but still requires safe reach and controlled retraction. Compare surface quality, tensioning and image height separately from the operating mechanism. A motor does not automatically provide a flatter screen or a material suited to your projector.
Further reading: Screen buying guide
Use a housing and brackets that explicitly support the chosen attachment. Check bracket spacing, load and the clearance needed for the fabric and bottom bar to travel without hitting trim, a television or furniture. Establish the image height before fixing the case position. If you want the housing concealed, compare a purpose-built recessed model rather than assuming every wall/ceiling housing can be installed inside a ceiling.
Further reading: Screen buying guide
Some do. The surface must support the UST light path, and the deployed screen must be sufficiently flat for the steep projection angle. Confirm the specific fabric and tensioning configuration, not just the motorized label. A ceiling-down and a floor-rising screen may also present different orientation and placement requirements. Match the entire screen to the projector’s installation chart before ordering.
Further reading: UST buying guide · Screen buying guide
Measure the complete housing, mounting points, viewable width and height, top drop and bottom-bar travel. Include service access and power/control cable entry. Compare the lowered screen with doors, cabinets and speakers, since the room must accommodate both its stored and deployed states. The advertised diagonal describes the image opening; it does not describe the case length or the space required to install and operate it.
Further reading: Screen buying guide
Choose the method that suits how the room is used, then confirm compatibility with the particular motor and receiver. A remote offers convenient independent operation; a wall control provides a fixed operating point; a supported trigger can coordinate deployment with the projector. Check whether accessories, wiring and adapters are included. Keep an independent operating method available where the screen’s control system supports it.
Further reading: Screen buying guide
A tab-tension system applies controlled tension along the sides of the screen to help maintain its deployed shape. It is particularly useful when a projector makes small waves visible. Compare tensioning with the material’s optical requirements and the expected image size. A tensioned fabric can still be the wrong ALR type for a particular throw geometry, so confirm both the mechanical and optical specifications.
Further reading: Screen buying guide
Allow access to the motor, control receiver, power connection and the service points identified in the screen manual. Recessed installations should not trap equipment behind a finished ceiling without the intended access route. Check how the fabric or motor can be serviced and what must be removed. Planning access at the beginning is easier than opening a cabinet or ceiling after an avoidable compatibility or control problem.
Further reading: Screen buying guide
Bigger bundle, bigger discount — on every item!
5 %
7 %
10 %
Bigger bundle, bigger discount – on every item! Increased savings apply across all eligible products. The Build a Bundle discounts are on top of any sale pricing or current promotions, so items on sale will net you even more of a discount.


