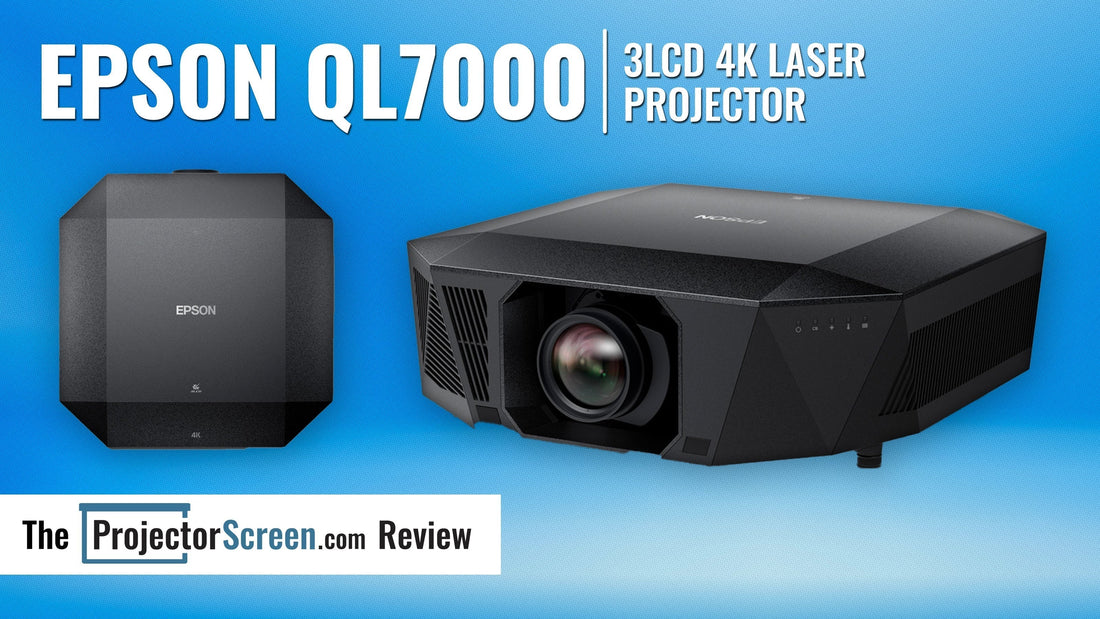
Epson QL7000 3LCD 4K Laser Projector Review
- Meets and exceeds rated 10,000 Lumens
- Does not require high voltage power
- Will pair well with very large screens or rooms with ambient light
- HDR10 support with Dynamic Tone Mapping
- Image is nicely sharp and detailed
- Quiet fan operation through most of the laser power range
- Nice backlit remote
- Superb Color Accuracy after grayscale correction
- No RBE (rainbow effect) from being 3LCD
- Dual HDMI 2.1 40Gbps with native 120hz
- Many lens options available for a variety of installation needs
- Good quality native motion handling and motion interpolation processing
- Pixel shifting for 4K resolution, though image detail is still very good
- No 3D support at all
- Native contrast isn’t competitive in this price range
- While dynamic tone mapping is nice to have, it could use some refining
- Expected higher P3 gamut coverage than the 80% XY / 84% UV measured

About The Epson QL7000
Epson’s new QL7000 launches with an MSRP of $29,999 (lens not included) and is a 3-Chip 3LCD projector that is rated to output 10,000 lumens, while having 20,000+ hours of laser life. The QL7000 exceeded this claim reaching nearly 12,000 in its brightest mode, and even when calibrated to D65 white point maintains over 9,000 lumens.
This projector is aimed at very large screens and/or rooms with ambient light. It also provides an excellent HDR presentation in brighter content with a measured near 900 nits on a 110” StudioTech 130 screen.

The QL7000 is powered by Epson’s QZX picture processing. This is a proprietary 32bit processor that handles the tone mapping, motion handling, upscaling, and more.

Epson is launching two high luminance models in this line, which are the QL3000 and QL7000. The QL models require a separate purchase of a lens, and do not have the increased contrast from “UltraBlack Technology” found on the lower tier QB1000 model, though they are designed for installations requiring much higher light output from the projector. In medium to brighter scenes, the mixed contrast performance and high brightness capability offers an excellent viewing experience. Darker scenes where the native contrast matters more is the trade off with the QL7000 where alternative options would offer better performance.


Unboxing The Epson QL7000
Upon opening the box, in addition to the projector you will find a removable top cover plate, rear cover plate, a backlit remote, power cable and setup guide. No lens comes with the projector and will have to be bought separately. This review was done with the standard “ELPLM15” lens. The specs of this middle zoom lens are:
- Type Powered shift/focus/zoom
- F-Number 1.8 – 2.3
- Focal Length 36.0 mm – 57.4 mm
- Zoom Ratio Optical Zoom: 1.0 – 1.6
- Throw Ratio Range 1.52 – 2.47
- Lens Shift Vertical:-64 % to +64 %
- Lens Shift Horizontal: -16 % to +16 %


Around back you will find physical control buttons, and the connection ports. The QL7000 has,2x HDMI® 2.1 (HDCP 2.3) 2x USB Type-A for Content Playback, firmware update and power 5 V/2 A, 5 V/0.9 A max power supply only 1x USB Type-B (firmware, service) 1x LAN RJ45 (control only) 1x RS-232c (DB-9) 1x 3.5 mm stereo mini audio jack
The top plate can be removed and swapped for different color options, or be painted/customized to match your room decor or your preference. The projector is available in both white and black.


To the side of the lens compartment on the front is the intake fan, which vents out of the side of the projector. The fan is not any more noticeable than other home theater projectors around the 3,000 lumen range. I tested for different “steps” in the fan curve in relation to the laser level setting. I found that when the fan would change, it would be in small steps and be gradual or take time to ramp up or down. It didn’t suddenly change or jump in noise. Generally I found the fan to be quietest at the lowest laser setting of 30%, followed by what seemed to be a low setting from 35%-60%. Then what I would consider a medium fan speed from 65%-80%, and finally a high fan speed from 85%-100%.
On the screen I tested with, with a throw distance of 15’8” the lowest laser setting of 30% was still measuring over 245 nits on screen. For SDR content, it will be very easy in many installs to keep the laser and noise very low and still exceed the 100 nits SDR standard.
Initial Setup and Impressions
Pure luminance output is the main advantage and strongest selling point of the QL7000. In bright HDR scenes it can offer a very compelling impression of being a giant TV replacement. The HDR impact of bright lights or sun flares hit with the same impression you get from premium modern TVs, but at a much larger size. It is a different viewing experience than what is offered by other competing projectors that offer higher contrast in darker scenes, but don’t have nearly the level of light output of the QL7000 in brighter scenes.

I looked at this bright high APL scene in Aquaman 2, which also is a full 16x9 without black bars. The in-scene contrast was very good even with the high brightness of the sun flare and the darkness of the clothing appeared visually convincingly black. The color brightness of the light reflecting on the foliage was also very bright.
The QL7000 does have dynamic contrast to help improve the performance in darker scenes, and is beneficial to use. They also have a setting called “Lights Out Control” that allows you to customize the laser shutting off for a full fade to black in any picture mode.


I measured a native contrast range of 1913:1 - 2322:1 depending on the wide vs telephoto end of the zoom range. With dynamic contrast on and set to 20% contrast raised to 7270:1, and if set to 0% greatly increases to a dynamic contrast of over 300,000:1. However there is a loss of shadow detail when set to 0%, and I found 20% setting to be best. Paired with the Light Out Control set to 0%, 0.5 sec so if the image would go full black for a half of a second the laser would turn off. At 0 seconds I ran into occasions when changing settings in the menu it would shut off and have to wait for it to come back on, and there are probably real scenario cases that could be annoying.

Sharpness and detail is quite good with the QL7000, despite being a pixel shifted 4K image. There are two different sharpness related picture settings that can be adjusted. The higher they are set, the more artifacts and ringing you can see, but used mildly can help perceived detail. You can see around the edges of this pattern how increasing the sharpness setting causes rectangles to appear in the pattern that should not be there.


I found a setting of 2 to not implement visible artifacts while providing a small increase in perceived sharpness.

There is also Super Resolution which is one part of the Image Preset Mode settings.

I would recommend not setting the Super Resolution setting higher than 1 or 2 as well.

For motion testing I used the scene from Baby Driver as he walks around the city and the camera is constantly moving. I also looked at Planet Earth 2 which has a lot of panning camera shots. Native 24Hz motion handling with interpolation settings off is excellent. If you like to have added interpolation with minimal or no visible Soap Opera Effect (SOE) even the lowest setting can’t do that. There is moderate SOE visible with the lowest setting that gets stronger as the setting is increased. However, if you like to have some SOE, it did so very cleanly with no visible artifacts until the highest setting. I used the rotating Luma Wedge on the Spears & Munsil benchmark disc and there wasn’t any break up in the wedges on low and only very minor on normal.

I measured the light output in each of these four picture modes, with excellent results in light output regardless of which mode you use. Cinema and Natural will look the best and closest to accurate white however.
Image Mode |
Lumens |
|---|---|
Dynamic |
11,719 |
Vivid |
10,481 |
Cinema |
9,925 |
Natural |
9,338 |
While the QL7000 has Dynamic Tone Mapping, with the level of brightness it outputs I didn’t see much reason to use it. With it on, and then comparing it turned off and setting the Static Tone Mapping setting manually and comparing, I never found a scene where it would exceed the 790-1000 nits settings. Even using the horses in the snow 2000 nit grade from Spears & Munsil UHD demo disc, DTM on matched the 790 nits STM setting very closely. The lower number you set the STM to, the brighter the image is and the less detail in bright scenes will be visible. The higher you set the number, less details will clip but the image will be darker.


Considering in HDR with this install the QL7000 was nearly 900 nits full screen, having Dynamic Tone Mapping on wasn’t really helping. In a different install where the screen is larger and luminance is lower, then it could be more useful. It would be nice to see Epson release an update to give the Dynamic Tone Mapping more flexibility in the range it can select.


Here you can see how DTM on clips just as much color from the flames as setting it to 1000 nits. This is from Fantastic Beasts: Crimes Of Grindelwald during the firing dragon scene at the end of the movie. This scene is graded to 4000 nits and extremely high APL, and in this scenario DTM should be darkening the image more to show more detail how the 4000 nit setting is.
On the other end however, where a lower setting is needed to show dark details DTM does pretty well. In this scene also from the Spears & Munsil demo we can see it is a little brighter than the 160 nits setting is.


That scene is also a good test for color banding or posterization, and some is visible in the sky. It is not what I would consider a lot, and most may not notice it. But if you are sensitive to posterization it was sometimes visible on this unit I reviewed. A gray ramp showed it a little in the near black range, and a little bit in the brighter range as well. It was not excess or even close to being so however.


Color accuracy was really quite good in both SDR rec709, and in HDR10 P3. However in P3 the gamut coverage is fairly low, so only the inner through middle parts of the gamut are pretty accurate.

Most content isn’t graded with color beyond this very often, however it was disappointing to see the P3 coverage only measured 80% in xy, and 84% in UV. BT2020 came in at only 58% xy and 62% UV.


Measurements and calibration were done using Colorimetry Research CR-250 spectroradiometer and CR-100 colorimeter, Murideo 6G pattern generator, and Calman Ultimate software. I had limited time for this evaluation and stuck to simple control adjustments and 2pt white balance. Even with that limitation, the results were excellent.
For SDR I used the Natural picture mode, and for HDR I used Cinema. Using the memory settings I saved them in two different profiles using different laser levels, which allows for quick and easy switching.

As far as out of the box accuracy, it varies a lot based on the laser level you are using. The grayscale became more blue when lowering the laser level in my testing. I measured 20pt grayscale at 100%, 65%, and 30% laser and you can see how much it shifted. 65% vs 30% was similar for the RGB balance, but the gamma shifted a bit between them.


Measuring a ColorChecker also at 3 different laser levels shows the QL7000 was very accurate at full laser, and lowering it drifted the color accuracy as it got lower.


However this was easy and quick to correct with basic white balance and gamma adjustments, even at the lowest 30% laser setting. With more time, going into the advanced multipoint settings could have gotten it even better.


In HDR the out of the box EOTF tracking was fairly lifted, which will over brighten the image and lower dynamic range. There is also too much blue throughout the whole range.

Same as SDR, with some mild adjustments we can get a much better result.

RGB balance flattens out, EOTF tracks much better up around 50% stimulus where it rolls off for tone mapping. ColorChecker is also excellent after this correction.


Skin tones appear natural, and well saturated. Bright colors retain color saturation very well too. Here are some more images from Aquaman 2 and Planet Earth 2 that are very vibrant, bright, and many of these scenes the QL7000 gives off a feel of warmth and impact that lower lumen projectors wouldn’t be able to do as well. In heavily mixed contrast scenes, the high brightness of the image causes your eyes to adjust, making the weaker black levels in these types of scenes much harder to notice.


Settings
In SDR I would recommend the following settings:
- Light Output – Set as needed/comfortable for your screen and room
- Picture Mode - Natural
- Brightness/Contrast/Saturation/Tint - Default 50
- Sharpness – 2/2/2
- White Balance - Color Temp - 6500k
- G-M Correction 6
- Frame Interpolation – Off or Low
- Image Enhancement – Preset 1 – Noise/MPEG Reduction 0 – Super Resolution 2/2
- Scene Adaptive Gamma 0
- Gamma 2.4 if room isn’t very dark, or 2.5 for very dark room
- Dynamic Contrast On / High Speed / 20%
- Lights Out Control On / 0% / 0.5 Sec
For HDR:
- Light Output – 100 or lower if fan noise is too much
- Picture Mode - Cinema
- Brightness/Contrast/Saturation/Tint - Default 50
- Sharpness – 2/2/2
- White Balance - Color Temp - 6800k
- Frame Interpolation – Off or Low
- Image Enhancement – Preset 1 – Noise/MPEG Reduction 0 – Super Resolution 2/2
- Dynamic Tone Mapping – On for larger screen sizes or lower laser level, Off for brighter installations with Static Tone Mapping setting set to 1000 (or a little lower for brighter image)
- Gamma 2.1
- Dynamic Contrast On / High Speed / 20%
- Lights Out Control On / 0% / 0.5 Sec
Final Conclusions
The Epson QL7000 is an incredibly bright projector that you won't have to be concerned about additional installation factors of many more expensive projectors with similar light output. It does not need high voltage 220/240v power with a rated 636 watts, includes very good image processing (tone mapping, motion handling, lens memories, etc), and is not very large or heavy coming in at 22.4" x 22.4" x 7.5" with a weight of 46.5 lb. Compared to contrast focused competitors from Sony LCoS and JVC D-ILA at this price range, they are apples and oranges. This is far brighter than what they bring, with a sacrifice to native contrast / black level, and color gamut. They are different tools for different installation needs, and not what I would consider direct competition to each other.
While the price will be considered steep to many at over $30,000 with a lens, there simply isn’t another projector that comes to mind with anything close to this light output that is a full featured package (included processing etc). The wide range of available lenses will also allow for far more installations to be viable.
The QL7000 is really purposed for a few different scenarios. First, very large screen sizes of 180-250” or more. Second, large ALR screens in a multi-purpose room with a moderate amount of ambient light. And third, if you are wanting very impactful HDR in bright scenes, like you get from modern premium televisions, but at much larger sizes. If you fit the criteria for any of those, you should definitely be giving the QL7000 a consideration.