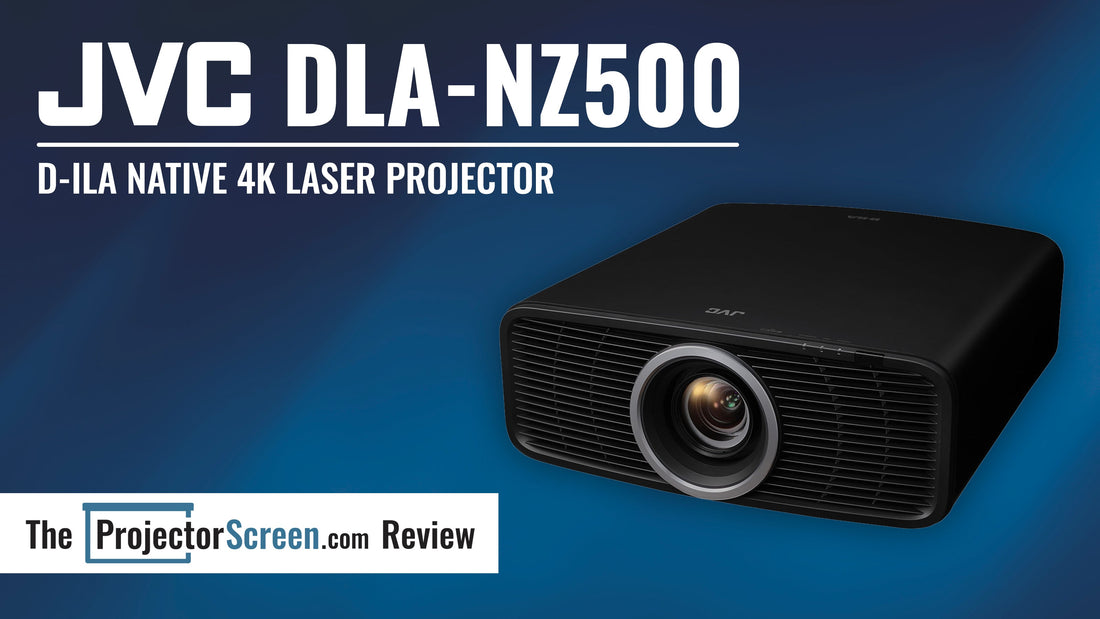
JVC NZ500 Laser D-ILA Native 4K Projector Review
- Best in class native contrast and black level performance
- 93% of P3 color gamut coverage without a filter reducing light output
- Good value and small size for easy set up
- Native 4K resolution is sharp and detailed
- Quiet fan operation through most of the laser power range
- Nice backlit remote
- Built in dynamic tone mapping for better HDR performance
- So-so gaming performance
- Not 4K 120Hz capable
- No 3D support at all
- Limited motion controls
- May not be bright enough for some bigger screens or ambient light
- OOTB color could be better, calibration recommended

About The JVC NZ500
JVC’s $5,999 MSRP latest entry into the Laser Projector market is a single laser (BLU-Escent Laser diode 0.69-inch Native 4K D-ILA Device (4096 x 2160) x3) projector rated for 20,000+ hours of laser life. They claim 2000 lumens of brightness with a native contrast ratio of 40,000:1. In my measurements the NZ500 meets the lumens claims (within margin of error) reaching up to 1960 in the “High Bright” setting, and stays relatively close in a more accurate 6500K setting with 1715 lumens.
As for native contrast, the NZ500 excels and can meet or exceed the 40,000:1 claim in its most accurate settings. Do note however, your installation setup and aperture setting will have an impact on the native contrast. I measured a range from a worst case scenario using the lens at the widest position and the aperture fully open of around 30,000:1 to a best case of using the telephoto end of the zoom with the aperture closed down of around 50,000:1. This was measured directly off the lens to remove room conditions from the equation. The NZ500 also has JVC’s new Black Tone Control that can improve dark scene depth and quality without loss of detail.

While long throw projectors like the JVC NZ500 can’t support Dolby Vision, it does have support for HLG, HDR10 and HDR10+. Not supporting Dolby Vision really shouldn’t be a concern for most. JVC has frame by frame adaptive dynamic tone mapping (which now supports DML or Display Mastering Luminance) that works well to show plenty of highlight details, and doesn’t over darken dark scenes leaving shadow detail intact.

The overall design of the JVC NZ500 (and the step up NZ700) has changed to a whole new chassis, with a front to back cooling system instead of back to front. This will direct the flow of warm exhaust air away from the viewer in most installations. It is also now much smaller and lighter than past models, making it much easier to lift or move around to install. The body also has four adjustable feet in each corner to help with alignment when using it on a shelf.


The fan in the NZ500 has multiple fan profiles based on the laser level setting. At 0 LD Power the fans are nearly inaudible from a meter away. The ramp up slightly from 1-46, then moves to the third fan setting from 47-74. Many users will probably be in this range which is a mild hum at a normal install location. If it is right overhead it could be heard in quiet scenes. The last fan profile and loudest setting is from 75-100, and will likely be used by most for HDR content. While it was certainly audible from about a meter away, it wasn’t a harsh tone nor was it too distracting. It was also quieter than other competing projectors I’ve tested when they were also at their highest fan profile. If you would be upgrading from a previous lamp based JVC like the NP5, the balance between light output to fan noise would be quite the upgrade.
JVC designed a whole new lens for the NZ500 and NZ700. Now using a larger 80mm 15-element / 11 group lens for improved corner to corner sharpness and improved perceived resolution.
The lens also has a very good adjustment range of 70% vertical and 28% horizontal. So if your installation has the projector not quite center to the screen, you can shift the image and not have to use any keystone that can lower the resolution or sharpness of the image.

Unboxing & Aesthetics

The JVC-NZ500 includes the projector, power cable, backlit remote, and a manually removable lens cover. The remote is not a very large remote, and next to the projector shows how much smaller the new chassis is.

Connectivity

On the back you will find 2 HDMI (32Gbps) ports, an ethernet and service port, and a simple on/off switch. Lower down is the power cable port. You’ll also spot the exhaust fans on each side of the body. Note that there are no control buttons on the body itself.
On the bottom you will find the four adjustable feet in each corner. If you unscrew the feet, you will have access to the the mounting holes if you will be ceiling mounting the projector.

Projector Setup
The UI menu system is now different from other JVC models. When pressing the menu button on the remote, you will want to scroll all the way to the right (or press left once if on the far left tab) to select which of the three menu types you want to control. Whichever one is check marked is the menu system that opens when you press the menu button on the remote. For initial setup you will likely want to select the installation settings menu to start with.

You can use the flexible zoom and lens shift range to align to your screen with a dedicated lens button on the remote. Pressing it each time will change which lens menu you are adjusting.

From there going to the pixel adjust menu you can apply convergence as needed, either across the screen or per area. Before doing that you can separate the red, green, and blue panels to adjust focus, then converge them back together.


Image Quality

Image quality is where the NZ500 punches above its weight. As long as your screen isn’t too large or gain too low, there isn’t really an image quality competitor to the NZ500 without spending quite a bit more money. The black floor on this “entry” model for JVC is just as capable as any other in the line-up.

I tested with a 100” 1.0 unity gain screen from 12’ away, and calibrated SDR to 105 nits using only 46 laser power to keep noise down. I also closed the aperture down to -12 to increase the contrast. This gave me a black level reading of 0.003 nits for an off screen post calibration contrast of 35,274:1. The only other consumer projectors on the market that can match or beat this, is another JVC model higher in their line.


I checked sports in SDR, and the image is very detailed with a lot of depth. However there are no motion controls aside from black frame insertion which is going to cut the brightness down, and was left off. That said, I do not like motion interpolation most of the time anyway, and saw no issues with native motion handling of the NZ500.
For low bit rate or low quality testing I use this image from The Walking Dead streaming on Netflix. On many displays the fog in the background can show macro blocking, flickering, or be overly smoothed away depending on how the display is processing the image. I saw none of these artifacts when viewing on the NZ500.

For HDR I used 100 laser power and closed the aperture by -2 to gain some contrast. This gave me up to 225 nits on my screen (200 full screen) after calibration to D65. You can see here the smaller the window size measured, there is up to a 10% or so increase in brightness due to “light recycling” that JVC projectors do.

EOTF tracking is quite good out of the box in the Frame Adapt picture mode with HDR set to frame by frame and “Auto Wide”, with a slight lift through the mid range. After calibration tracking is excellent for a projector.


Contrast is excellent in HDR viewing, and the frame by frame dynamic tone mapping keeps all highlight details visible. However I did find in certain cases the tone mapping to be too aggressive for my tastes and left me wishing it was more controllable.


Shadow detail and color performance in dark scenes is a major strong point for JVCs projectors and the NZ500 is no different. In this high contrast and shadowy scene from The Witcher, nothing appeared crushed or too dark. The flames in the pit also showed detail (that clipped on my camera but not in person).
Viewing the beginning of chapter 13 of 1917 when he is waking up on the stairs, the NZ500 faithfully presented the detail that should be visible while keeping the black level low. It also retained the low luminance color well by showing the blue light reflection on his face. Other displays can lose that blue and look more greyish or green instead.

Colorimetry & Calibration
Measurements and calibration were done using Colorimetry Research CR-250 spectroradiometer and CR-100 colorimeter, Murideo 6G pattern generator, and Calman Ultimate software.
Overall color accuracy was excellent after calibration or at least correcting white balance on the NZ500. However before doing that, the “6500K” color temp was visually too warm and the “7500K” setting was too cool, with the former being the closest to D65. Gamma tracking was a bit dark in the “2.4” setting out of the box as well, but not too far off.


A proper calibration fixing the grayscale, and maybe a few minor adjustments to the CMS (color management system) can make a very notable improvement, and ColorChecker performance drops from a pretty good dE2000 average error of 2.5 down to a fantastic 0.4. Max error drops from almost a dE of 7 to only a dE of 1. Grayscale error dropped to only 0.3 with basically a perfect 2.4 gamma as well.


While JVC offers their own “AutoCal” software, it wasn’t ready for the NZ500 at time of review. They are also adding the option to be able to do a profile offset of a reference meter now, instead of relying just on a Spyder colorimeter by itself.
The NZ500 has a bit of a bonus to it that the other models in the line-up dont. It natively has a good wide color gamut without the use of a color filter. I measured 93% of P3 covering and 70% in BT2020 in UV. On other JVC models without the color filter engaged, they would cover 4-5% less of the gamut. When engaging the color filter on those models, the P3 gamut would increase to nearly full coverage and BT2020 around 75%, but this would cost the user about a 25% reduction in overall luminance. If you are wanting a good balance of wide gamut coverage but don’t want to take the reduction in light on the higher tier JVC models, the NZ500 might work better depending on your installation and screen.


Saturation sweeps are very good overall, for both SDR and HDR up to the outer edge of the P3 gamut where it runs out of coverage.


All this is to say you can expect excellent, true to the art color performance from the JVC NZ500. I checked the Mario Movie rainbow road race scene and the color vibrancy was great while maintaining detail.

Color gradients in dark scenes are handled very well with no distracting or visible color banding or posterization around the glow from the flames in this very challenging scene from chapter 14 of 1917. In other displays you can see green or pink rings around the flames in the background here. None are visible on the NZ500.

Skin tones are represented very well with no visible errors. After calibration the snow in the background from this episode of The Witcher is represented cleanly and accurately. Ciri’s blond hair also has no green or red tinting to it, which is common when a display strays too far from accurate color.


The NZ500 exhibits vibrant and deep colors very well, in SDR and HDR content. I watched some of “Our Planet” on Netflix in HDR which has a lot of variety from one scene to the next and of high quality. Overall I was very impressed by the performance of the NZ500.
I also checked the HSV P3 color pattern on the Spears & Munsil UHD Benchmark disc to verify, and it shows no anomalies or posterization issues.


In Mad Max Fury Road when entering the storm, the white lightning strikes cause a reflection of the face and goggles in the car window. On the NZ500 with the Frame by Frame Adaptive tone mapping on “Auto Wide” setting you can fully make out the reflection detail. On many other displays that don’t tone map as well, that reflection would clip and just be white.
This PCA contrast test (also on the Spears & Munsil disc) shows how dark the black area can remain even with a large white ring. While it's higher than the all black screen floor, it is still impressive.

Image Sharpness and Precision
The level of sharpness and detail is excellent with the NZ500. It is a true native 4k (4096x2160) projector without using pixel shifting. The new 80mm lens can throw an image that is razor sharp, and no visible softening in the corners.
The processing also isn’t causing any major artifacts using this ringing pattern. While smaller circles are visible, there is no “starburst” pattern or straight lines to be seen anywhere that over processed images would show. (the color in the image is from the camera struggling to take the picture)

The NZ500 has a couple of adjustable processing features to aid in the visible detail. By default the setting of 5 is too high and looks over processed, but reducing it to 1-2 can be pleasing to many without visible over processing issues. You can see in these images how the fur can start to turn green with bad ringing when set to high.
Gaming & 3D
The NZ500 is not a strong contender for gaming. The input lag isn’t bad but not very good either at just over 2 frames of lag at 60Hz (~34ms). There is also no support for 4K 120Hz gaming either, or any other expected/wanted gaming features on modern displays. The NZ500 focuses on being the best bang for buck dark room home theater movie projector, and does very well in reaching that goal.
3D is also completely cut from the NZ500. If you want 3D and better gaming performance, you would have to go up 2-3 levels in the JVC tier to the NZ800 or NZ900. There aren’t many people still interested in 3D, which is why its more commonplace now for 3D to be removed from projectors. However there is a small die hard following of 3D that would not want to give it up.
Settings
SDR Mode
- Picture Mode - Natural
- Color Profile - Auto (BT709)
- Color Temp - 6500k (or Custom 1 and 6500K)
- Gamma 2.4
- MPC - Graphic Mode Low
- Enhance 1 or 2 - Smoothing 0
- LD Power - Highest setting per fan profile (46/74/100)
- Dynamic Control - I preferred “Balanced” by try each setting to see what you like
- Aperture - At least a couple or few clicks negative
- Contrast/Brightness/Color/Tint all at default
- For my setup I reduced Red Gain by -13 and Green Gain by -19. (this will be different/wrong for your setup and screen)
HDR Mode
- Picture Mode - HDR Frame Adapt HDR 1
- Color Profile - BT2020
- Color Temp - 6500k (or Custom 2 and 6500k)
- MPC - Graphic Mode Low
- Enhance 1 or 2 - Smoothing 0
- LD Power - 100
- Dynamic Control - I preferred “Balanced” by try each setting to see what you like
- Aperture - -2
- For my setup I reduced Red Gain by -5 and Green Gain by -7. (this will be different/wrong for your setup and screen)
For HDR10+ you are locked out of most settings. Only settings like the laser power, dynamic control, Aperture and other basic adjustments are available. If you have the projector calibrated, you may want to disable the HDR10+ functionality.


Final Conclusions
At an MSRP of $5,999 the JVC NZ500 offers a best in class dark room home theater performance for movie watching. Its new body is small and lightweight, easily moved around or installed while remaining cool and quiet. It has similar contrast and black level performance to the bigger brothers in the JVC line-up, and you can expect a lot of the same overall image quality as them from far less money. Light output is the main separating factor up until the NZ800 and NZ900 which offer additional features such as 3D and better gaming performance. If the NZ500 brightness ability is enough to light your screen, and you aren’t worried about gaming or 3D, then the NZ500 should be at the top of your list. It has no competition in this price range when it comes to pure dark room movie performance.

##SETITEMBYID[148615]##
Specs
##ENDSETITEM##